Dicom
DB import
The Dicom
DB import dialog
Here you can select
folder(s) to import images from and import these into the database.
Select folder:
Double click the folder you would like to import images
from.
Include subfolders:
Select this to import all images in all the subfolders of the
selected folder as well.
Scan:
This will start a scan of the selected folder, making an
estimate of how many of the files that are dicom images in the selected
folder (and subfolders if selected). Note: the result of the scan is only an
estimate, there might be more or fewer images in the folders. You will
then be asked if you would like to import these images. All actual images
will be imported, regardless of the estimate.
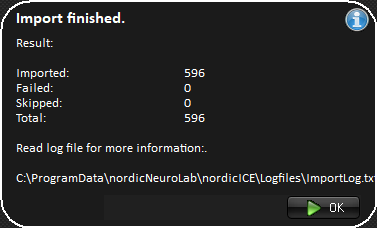
Status:
Imported:
Number of images imported to the database.
Failed:
The number of images that failed during import, e.g. if the image
was already in the database, or it was of an invalid format. An error message
has been logged for each file to the ImportLog.txt file located in the
nordicICE logfiles folder.
Skipped:
The number of files that were skipped because they were not
DICOM files.
Total:
The total number of files attempted imported.
Note:
The Dicom DB import dialog can be displayed by pressing the Import
button on the Database tab of the nordicICE database dialog.
Related topics:
Database tab
DICOM database

|