Multi-Planar
Reformat (MPR)
Main menu
The
MPR window contains a menu with the following entries:
File
Save As...
Save the modified image volume.
Import transformation...
Import previously saved transformation and apply to the volume
shown in the MPR window.
Export transformation...
Export the transformation of the volume in the MPR window to
file.
Import pixel labels...
Import pixel labels from a label text file.
Exit
Close MPR.
Edit
Copy
Copy the current projection image to the clipboard.
Copy to main
Copy all to main
Define a new image window in the nordicICE workspace and fill it
with a multi-slice image volume generated from the active projection panel.
Copy current to main
Define a new image window in the nordicICE workspace and
fill it with the image from the active projection panel.
Intensity/Contrast
Edit Win/Level...
Edit the window level and width.
Reset Win/Level
Reset the window level and width.
Win/Level preset 1
Revert to win level preset number 1 as set in options.
Win/Levell preset 2
Revert to win level preset number 2 as set in options.
Win/Level preset 3
Revert to win level preset number 3 as set in options.
Win/Level preset 4
Revert to win level preset number 4 as set in options.
Transform
Rotation
Rotate the image volume around axes orthogonal to the projection
planes.
Translation
Translate the image volume in directions parallel to each
projection plane.
Scale
Scale the image volume in directions parallel to the projection
plane.
Reset all rotations
Reset rotations applied in all three projection planes.
Reset all translations
Reset translations applied in all three projection planes.
Reset all scales
Reset scales applied in all three projection planes.
Reset all vertices
Reset vertices applied in all three projection planes.
Reset all transformations
Reset all transformations applied in all three projection
planes.
Scan All Planes...
Resample all volumes to the MPR grid, and
store the pixel values in memory for fast rendering.
View
Coordinate system
Image volume
Visualize with respect to the image volume coordinate system.
Magnet
Visualize with respect to the magnet coordinate system.
Interpolation
Nearest neighbour
Apply nearest neighbour interpolation in the representation of
projection images.
Tri-linear
Apply tri-linear interpolation in the representation of
projection images.
Tri-cubic
Apply tri-cubic (Catmull-Rom) interpolation in the
representation of projection images.
Simplify intermediate interpolation
Use nearest neighbour interpolation at intermediate steps in
transformation preview.
Slice order
Revert slice order
Revert the order of slices to the original configuration.
Invert slice order
Invert the order of slices.
Coordinate labels
Pixel coordinates
Display pixel coordinate of the mouse pointer.
Magnet coordinates
Display magnet coordinates of the mouse pointer.
Cross hairs
Display crosshairs in projection panels.
Orientation labels
Display orientation labels in projection panels.
Color bar
Display the color bar in the axial projection panel.
Pixel labels
Display pixel labels when hovering the mouse pointer over
projection images.
Mode
MIP
Start Maxium Intensity Projection of the underlay image volume.
DTI
Start DTI mode.
BOLD
Start BOLD mode.
Report
Start Report mode (not available).
Data Panel
Show/Hide Data Panel.
Overlay
Load...
Load an overlay image volume from file.
Modify...
Modify the representation of overlays
Delete
Delete all overlay image volumes.
Zero below threshold
Zero pixels in the overlay image volumes that are below the
specified threshold.
Help
MPR help
Display the Users Manual's dialog box section on MPR.
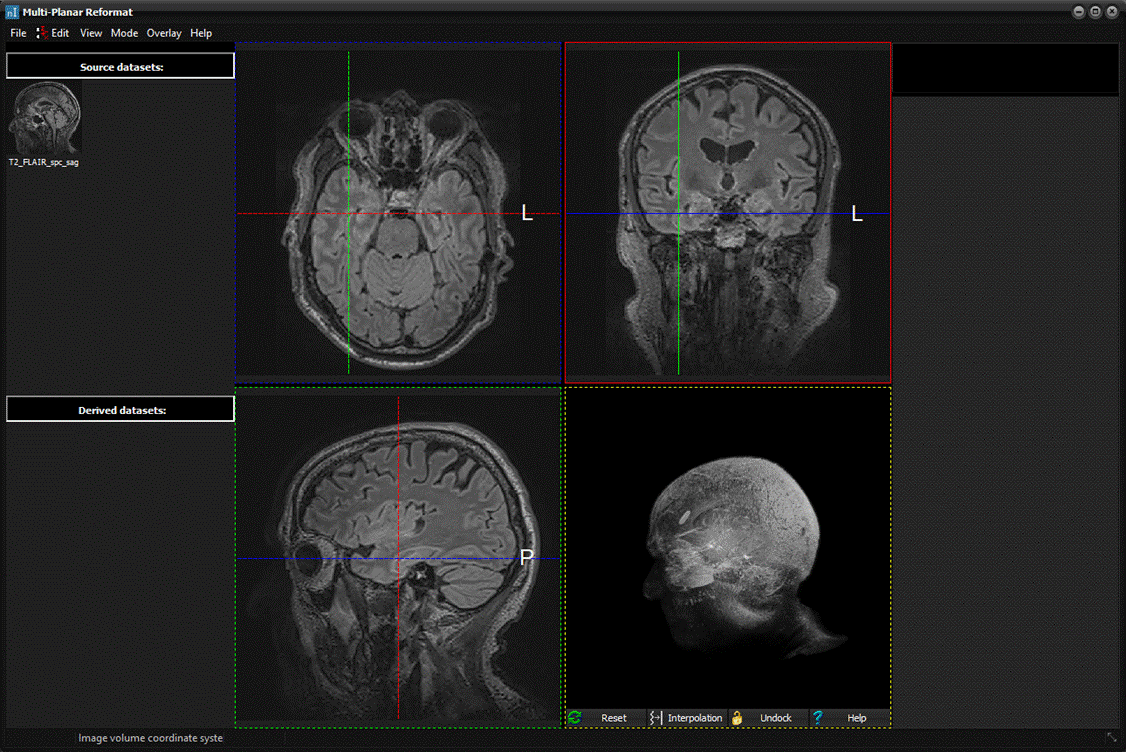
Data Panel
A
thumbnail is shown for each set of data, with the following actions
associated to it:
When a thumbnail is dragged and dropped onto one of the MPR
views, the corresponding data is rendered in the MPR view.
This will open a window with the data in the workspace of
nordicICE.
Interaction Panel
BOLD
mode
DTI mode
Co-Registration
Report
Tips:
- Many of the actions listed above may be invoked using
the keyboards shortcut listed at the menu item.
- Alternatively, actions may be launched using the
popup menu activated by right clicking any of the projection images.
Related
topics:
Multi-Planar Reconstruction Details

|